Acrylic nails are loved for their long-lasting, polished look. But, they must be removed eventually. This could be to go back to your natural nails or just for a change. It’s important to remove them correctly to avoid harming your nails.
In this guide, we’ll show you how to safely take off acrylic nails at home. We’ll share professional tips and aftercare advice. This will help keep your natural nails healthy and strong.
Understanding Acrylic Nails
Acrylic nails are a popular choice for enhancing natural nails. But what are acrylic nails, and what are their pros and cons?
What Are Acrylic Nails?
Acrylic nails are made from a liquid monomer and powdered polymer mix. This mix is applied to the natural nail and shaped. They are strong, durable, and can be customised in length, shape, and colour.
The Pros and Cons of Acrylic Nails
Choosing acrylic nails has its benefits and drawbacks. Here are the main pros and cons of acrylic nails:
- Pros:
- They are durable and long-lasting, protecting the natural nail.
- Customisable in length, shape, and colour to match personal style.
- Help strengthen thin or weak natural nails.
- Great for creative nail art and designs.
- Cons:
- The application can be time-consuming and may damage the natural nail.
- They need regular maintenance, like fills and removal, which can be expensive.
- Improper removal or excessive wear can cause thinning, brittleness, and infection.
- Some people may be allergic to the chemicals in the acrylic mixture.
Knowing what acrylic nails are and their pros and cons is key. This helps you decide if they’re right for you. By considering the benefits and drawbacks, you can choose what’s best for your nails and health.
Preparation for Removing Acrylic Nails
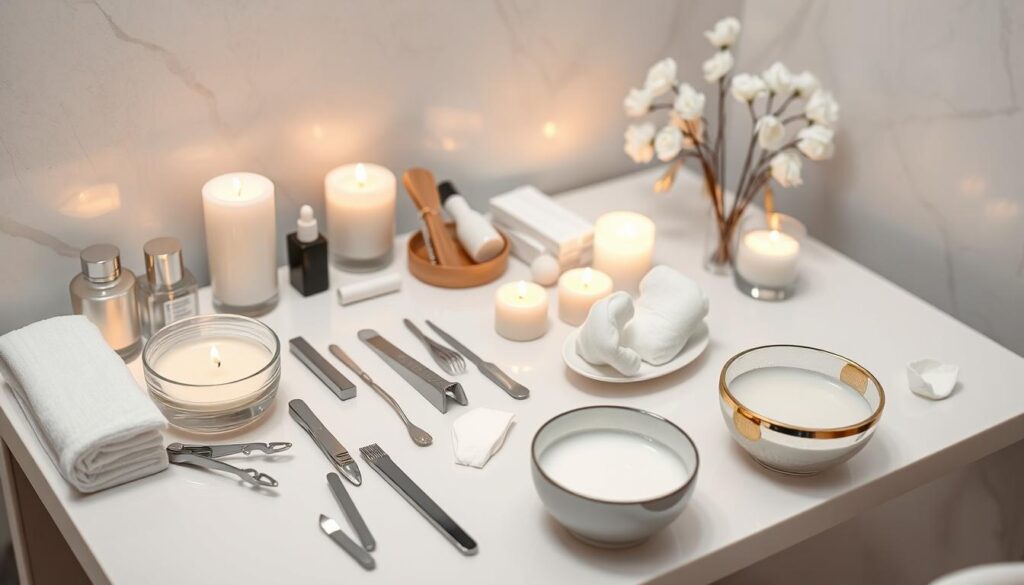
Getting ready to remove acrylic nails is key to a safe and effective process. You need the right tools and a clean workspace. This ensures your natural nails stay healthy and look great.
Gather the Necessary Tools
- Acetone-based nail polish remover
- A pair of cuticle scissors or nail clippers
- A nail file or emery board
- Cotton balls or pads
- Aluminium foil or plastic nail caps
- A towel or paper towels
Having these tools ready makes the removal smoother. It lets you work carefully and avoid harming your natural nails.
Create a Clean Work Environment
Before starting, make sure your workspace is clean and tidy. It should be well-lit and free from clutter. Use a towel or paper towels to catch spills and have a bin for waste.
Preparation is crucial for a successful nail removal. Focus on your natural nails’ health and safety during the process.

How to Remove Acrylic Nails at Home
Looking to take off your acrylic nails at home? There are a few methods you can try. We’ll show you how to do it safely, keeping your natural nails healthy and strong.
The Acetone Soak Method
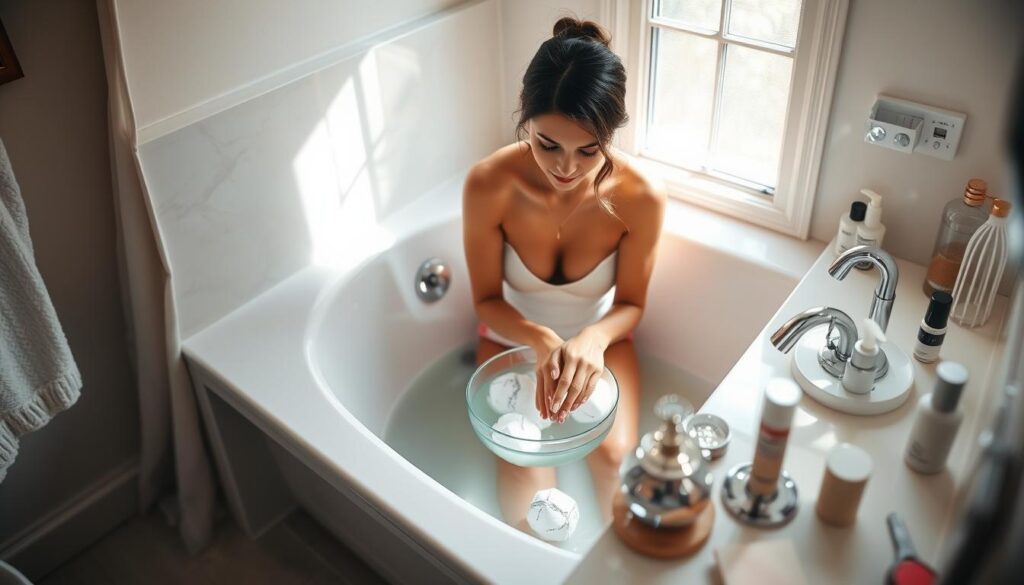
The acetone soak is a simple and common way to remove acrylic nails at home. Here’s how it works:
- Gather your supplies: acetone-based nail polish remover, a small bowl or container, and a cuticle pusher or orange stick.
- Soak your nails in the acetone for 10-15 minutes, checking periodically to see if the acrylic has softened.
- Once the acrylic has loosened, use the cuticle pusher or orange stick to gently scrape off the remaining product.
- Be patient and avoid forcefully removing the nails, as this can damage your natural nail bed.
The Dental Floss Technique
The dental floss technique is another good way to remove acrylic nails at home. It’s great if the acetone soak doesn’t work for you.
- Start by cutting a length of dental floss and wrapping it around the base of your acrylic nail.
- Gently push the floss under the acrylic, working it back and forth to lift the nail.
- Repeat this process until the acrylic nail lifts off completely.
- Be mindful not to pull too hard, as this could tear your natural nail.
Remember, patience and care are key when removing acrylic nails at home. Take your time, and don’t hesitate to seek professional help if you encounter any difficulties or are unsure about the process.

Seeking Professional Help
Removing acrylic nails at home is possible, but sometimes, it’s better to see a professional. This is especially true if your nails have been done for a long time. Or if you worry about harming your natural nails.
When to Visit a Nail Technician
Here are some signs you should see a professional to remove your acrylic nails:
- If your acrylic nails have been on for more than three to four months. This can make removal harder and risk damage to your natural nails.
- Seeing significant lifting or separation between the acrylic and your natural nail bed. This might mean there’s an issue that needs a pro’s help.
- Your natural nails look thin, brittle, or discoloured after wearing acrylics for a long time. A nail technician can check your nails and treat them if needed.
- You’ve tried to take off the acrylics at home but failed or made your natural nails worse. A pro can safely remove the acrylics, protecting your nails.
Seeing a nail technician ensures your acrylic nails are removed right. It also helps your natural nails recover and look healthy again.
| Scenario | Recommended Action |
|---|---|
| Acrylic nails worn for more than 3-4 months | Visit a nail technician for professional removal |
| Significant lifting or separation between acrylic and natural nail | Consult a nail technician |
| Thin, brittle, or discoloured natural nails after acrylic wear | Seek professional assessment and treatment |
| Unsuccessful home removal attempts or further nail damage | Visit a nail technician for safe and effective removal |
Knowing when to see a nail technician for acrylic removal helps keep your natural nails healthy. It also reduces the chance of long-term damage.
Aftercare for Healthy Natural Nails
Removing acrylic nails can weaken your natural nails. But, with the right care, you can make them strong again. This guide will show you how to moisturise and strengthen your nails after acrylic removal.
Moisturising and Strengthening Tips
It’s key to moisturise and strengthen your nails after acrylic removal. This helps them become resilient again and prevents more damage. Here are some tips to help:
- Apply a hydrating nail and cuticle oil or serum regularly to nourish your nails and skin.
- Wear cotton-lined gloves when doing chores or activities that might harm your nails.
- Use a strengthening nail polish or treatment to rebuild your nail’s structure and prevent damage.
- Avoid picking, biting, or filing your nails too much, as it can weaken them.
- Take a break from nail enhancements for a few weeks to let your nails grow and strengthen.
| Nail Care Tip | Benefits |
|---|---|
| Moisturise with nail and cuticle oil | Hydrates and nourishes the nails and surrounding skin |
| Wear protective gloves | Shields nails from harsh chemicals and abrasions |
| Use strengthening nail treatments | Helps rebuild the nail’s structure and prevent damage |
By following these how to care for nails after removing acrylic nails and nail care after acrylic removal tips, you can strengthen your natural nails. This will help you have beautiful, strong nails in the future.
Avoiding Damage to Natural Nails
When you remove acrylic nails, it’s important to protect your natural nails. The wrong removal methods can make your nails thin, peel, or even fall off. This can look bad and hurt. To keep your nails safe, follow these key tips.
Start by choosing a gentle and slow removal method. Hurrying or using too much force can harm your nail bed. Soak your nails in acetone for the right amount of time. Don’t scrape or file too much. This careful method reduces the chance of lasting damage.
Also, think about getting help from a professional nail technician if you’re not sure or if it’s hard. They know how to remove acrylic nails safely. Their skill can prevent long-term nail problems.