Gel nail polish is loved for its long-lasting and chip-resistant qualities. But, removing it can seem tricky. We’ll show you how to safely take off gel nail polish at home. This way, your nails stay healthy and well-cared for.
Key Takeaways
- Gel nail polish needs a special removal method to protect your natural nails.
- Soaking and filing are key steps for a successful gel polish removal.
- Following a step-by-step guide with helpful tips ensures a safe removal at home.
- Moisturising and nourishing your nails after removal is vital for their health.
- Knowing the basics of gel nail polish helps you make better choices about its use and removal.
Understanding the Basics of Gel Nail Polish
Gel nail polish has changed the manicure world. It gives a long-lasting, shiny finish that many love. But, what is gel nail polish, and what are its good and bad points?
What is Gel Nail Polish?
Gel nail polish is a special nail lacquer. It’s cured under UV or LED light, making it hard and shiny. It lasts for weeks without chipping or peeling. Unlike regular nail polish, gel polish needs a curing process to set.
Benefits and Drawbacks of Gel Nail Polish
Gel nail polish has many benefits. It lasts long, resists chips, and looks shiny. But, it also has some downsides to think about:
| Benefits | Drawbacks |
|---|---|
|
|
Gel nail polish is a good, long-lasting option compared to regular polish. But, it’s key to consider both sides before choosing it for your nails.
Preparation for Removing Gel Nail Polish
Before you start removing your gel nail polish, it’s important to prepare your nails. This step makes the removal process smooth and successful. It also keeps your nails healthy for the next change. Let’s look at the key steps to prepare your nails for gel polish removal.
Gather the Necessary Tools
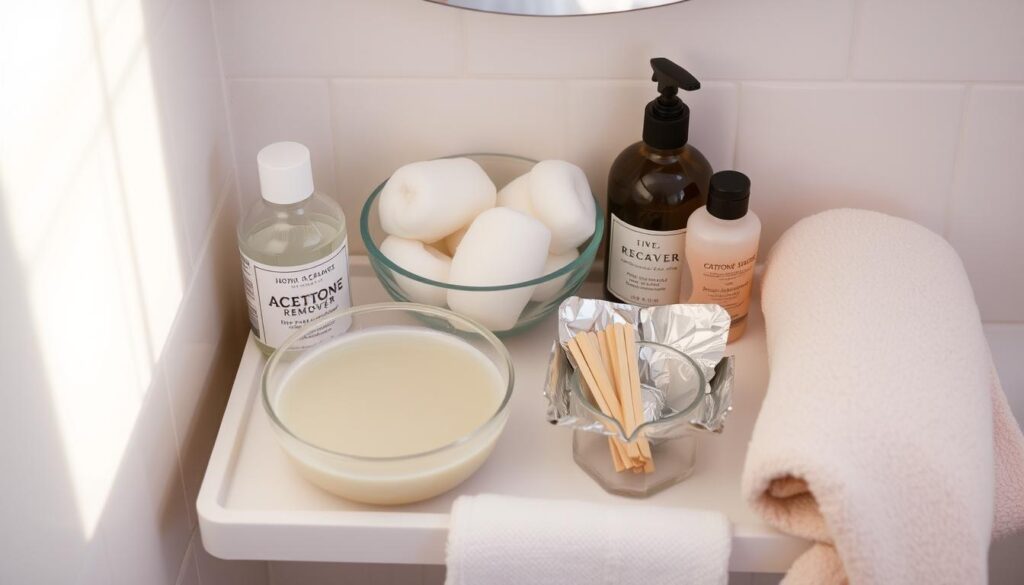
The first thing to do is collect all the tools you need. You’ll need:
- Acetone-based nail polish remover
- Nail file or buffer
- Cotton balls or pads
- Aluminium foil or clips
- Cuticle pusher or orangewood stick
- Emery board
Trim and File Your Nails
Then, use an emery board to lightly file your gel nails. This makes the remover soak in better. But, be gentle to avoid harming your natural nails.
Ensure Clean and Dry Nails
Before starting, make sure your nails are clean and dry. Use a lint-free cotton ball or pad to remove oils, dirt, or residue. This helps the remover work better.
By doing these steps, you’re ready to remove your gel nail polish. You’ll keep your natural nails healthy and strong.
| Step | Description |
|---|---|
| 1. Gather Tools | Get all the items you need, like acetone-based remover, nail file, and cotton balls. |
| 2. Trim and File | Lightly file your gel nails with an emery board. Avoid filing too hard to protect your natural nail. |
| 3. Clean and Dry | Make sure your nails are clean and dry, without oils, dirt, or residue. |
By following these steps, you’re ready to remove your gel nail polish. Your natural nails will stay healthy and strong.

How to Remove Gel Nail Polish
Removing gel nail polish can be tricky, but it’s doable with the right steps and patience. This guide will help you step-by-step guide to remove gel nail polish and share tips and tricks for removing gel nail polish.
Step-by-Step Guide
- Gather your supplies: acetone-based nail polish remover, a nail file, a cuticle pusher, and a buffer.
- Start by filing the top layer of the gel polish with a coarse-grit nail file. This helps the remover get in better.
- Soak a cotton ball or pad in acetone-based remover and place it on your nails. Wrap each finger with aluminium foil to keep the remover in place and allow it to work.
- Let the remover sit for 10-15 minutes, or until you can see the gel polish start to lift and peel off.
- Carefully remove the foil and cotton, and use the cuticle pusher to gently lift and remove the remaining gel polish.
- If there are any stubborn bits of polish left, use the buffer to file them down until your nails are completely clear.
- Finish by washing your hands with soap and water to remove any residual remover.
Tips and Tricks
- Be patient and take your time. Rushing can damage your nails.
- Keep a bottle of hydrating cuticle oil or hand cream on hand to nourish your nails after the removal process.
- Consider using a gel nail polish remover containing vitamin E or other moisturising ingredients to help minimise dryness and brittleness.
- If you’re finding the process difficult, consider visiting a professional nail technician for a safe and effective removal.
| Removal Method | Pros | Cons |
|---|---|---|
| Soaking in Acetone | Effectively removes gel polish | Can be drying to nails and skin |
| Filing and Buffing | Gentler on nails | More time-consuming |
| Professional Removal | Safest option, less damage | More expensive |
Remember, the key to successful gel nail polish removal is to take it slowly and be gentle with your nails. With the right techniques and a bit of care, you can easily restore your nails to their natural beauty.
Aftercare for Your Nails
Removing gel nail polish can be tough on your nails. They need extra care and attention to get back to health. It’s important to moisturise and nourish your nails after removal.
Moisturising and Nourishing
Gel nail polish removal takes away your nails’ natural oils. This can make them dry, brittle, and prone to peeling. To fight this, add a nail moisturising routine to your aftercare.
Look for nail creams or oils made to hydrate and nourish. They help replace lost moisture. Also, using a nail strengthening treatment or serum is a good idea. These products have vitamins, minerals, and proteins that strengthen your nails and promote growth.
| Nail Care Product | Key Benefits |
|---|---|
| Nail Moisturiser | Hydrates and nourishes nails, preventing dryness and brittleness |
| Nail Strengthening Serum | Fortifies nails with vitamins, minerals, and proteins for improved strength and growth |
By following these steps, your nails will recover from gel polish removal. They will become stronger and regain their healthy look.

Conclusion
This guide has shown you how to safely remove gel nail polish at home. You now know the basics and the right steps to follow. This way, you can do your nails at home and keep them healthy.
If you want to change your nail look or give your nails a break, you’re set. The steps in this article will help you do it without harming your nails. Always be patient and take care of your nails during the process.
Now you can remove gel nail polish with confidence. This means you can have healthier, more vibrant nails. Enjoy trying out different nail styles while keeping your natural nails strong and beautiful.